Users Management
Tenant administrators play a pivotal role in managing tenant users. Upon the creation of a tenant, an initial administrator is registered in the system. This original administrator, along with any subsequently added administrators, manages all other users within the tenant.
To explore the existing list of tenant users, navigate to the “Tenant Users” section by clicking on the “Users” option in the left-hand menu. Note that this option is exclusively available to tenant administrators.
Here is what the section looks like:

In this section, each table row represents a registered tenant user. Administrators can:
- Add new users
- Edit details of existing users
- Activate or deactivate users
- Change user passwords
- Delete users
Refresh the content by clicking the “Refresh” button and utilize the “Add” button or context menu on each row for user management tasks.
To incorporate a new user, click the “Add” button. A dialog box will appear as shown:
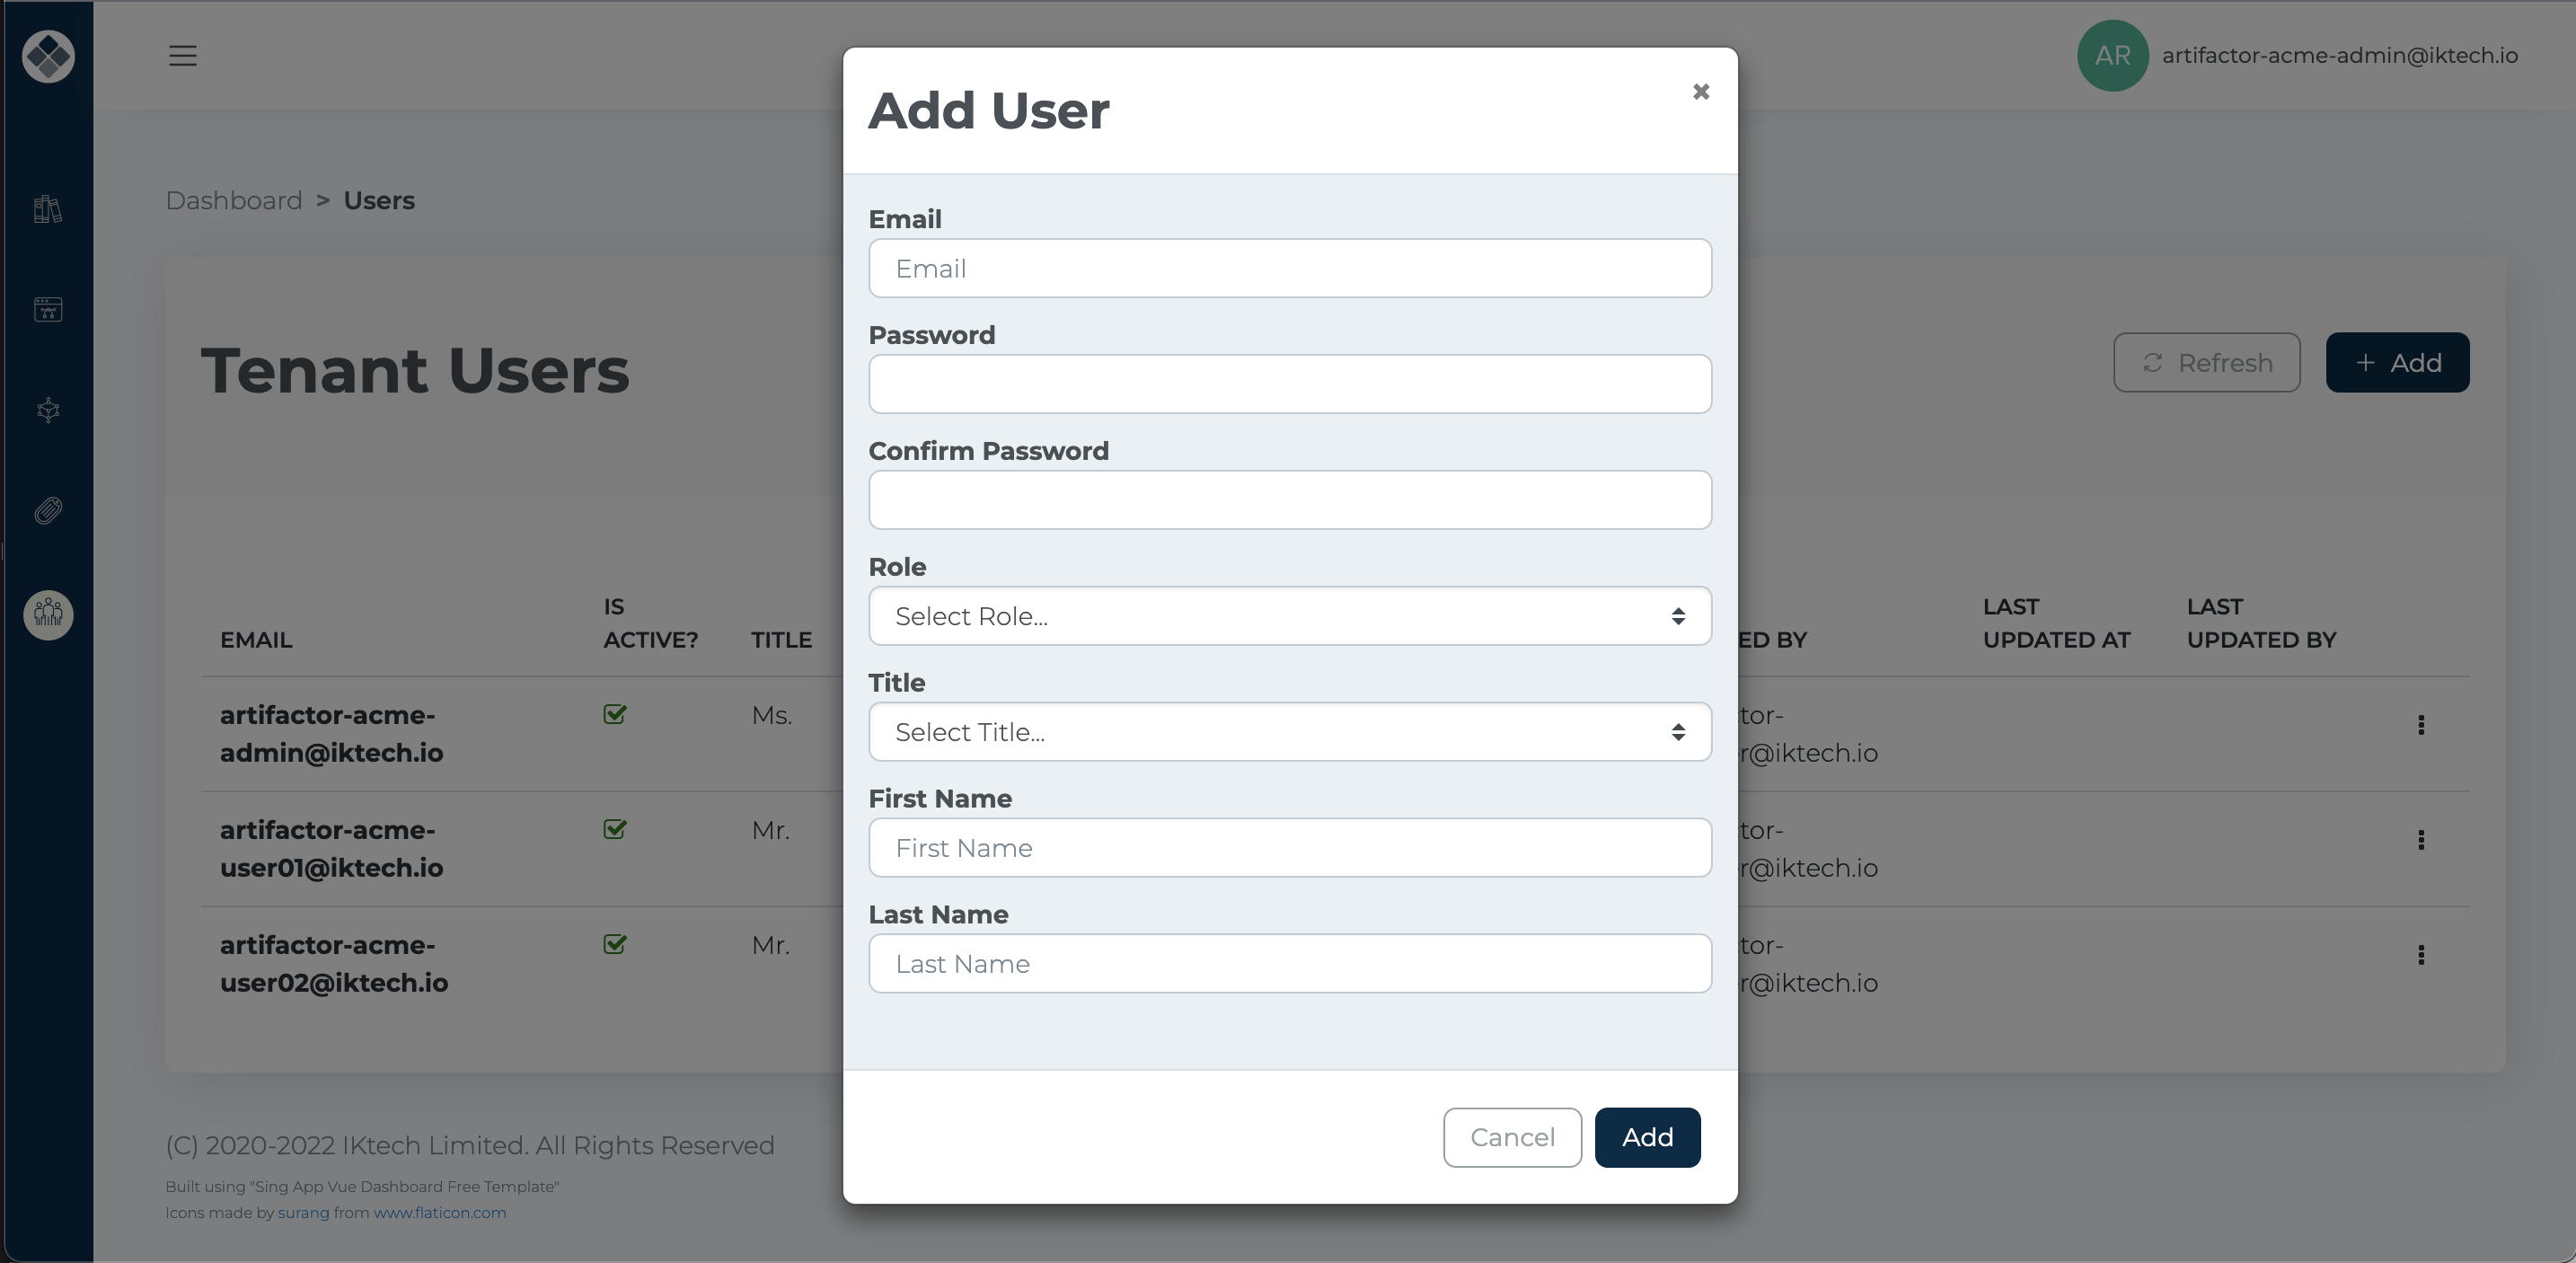
Fill in the following details:
- Email: A unique identifier and login name.
- Password: User password.
- Confirm Password: Must match the above password.
- Role: Choose between “Tenant Administrator” or “Tenant User”.
- Title, First Name, Last Name: Optionally add additional user details.
Click “Add” to finalize, or “Cancel” to abort the addition.
To access additional options, click the “three dots” button, revealing the context menu:
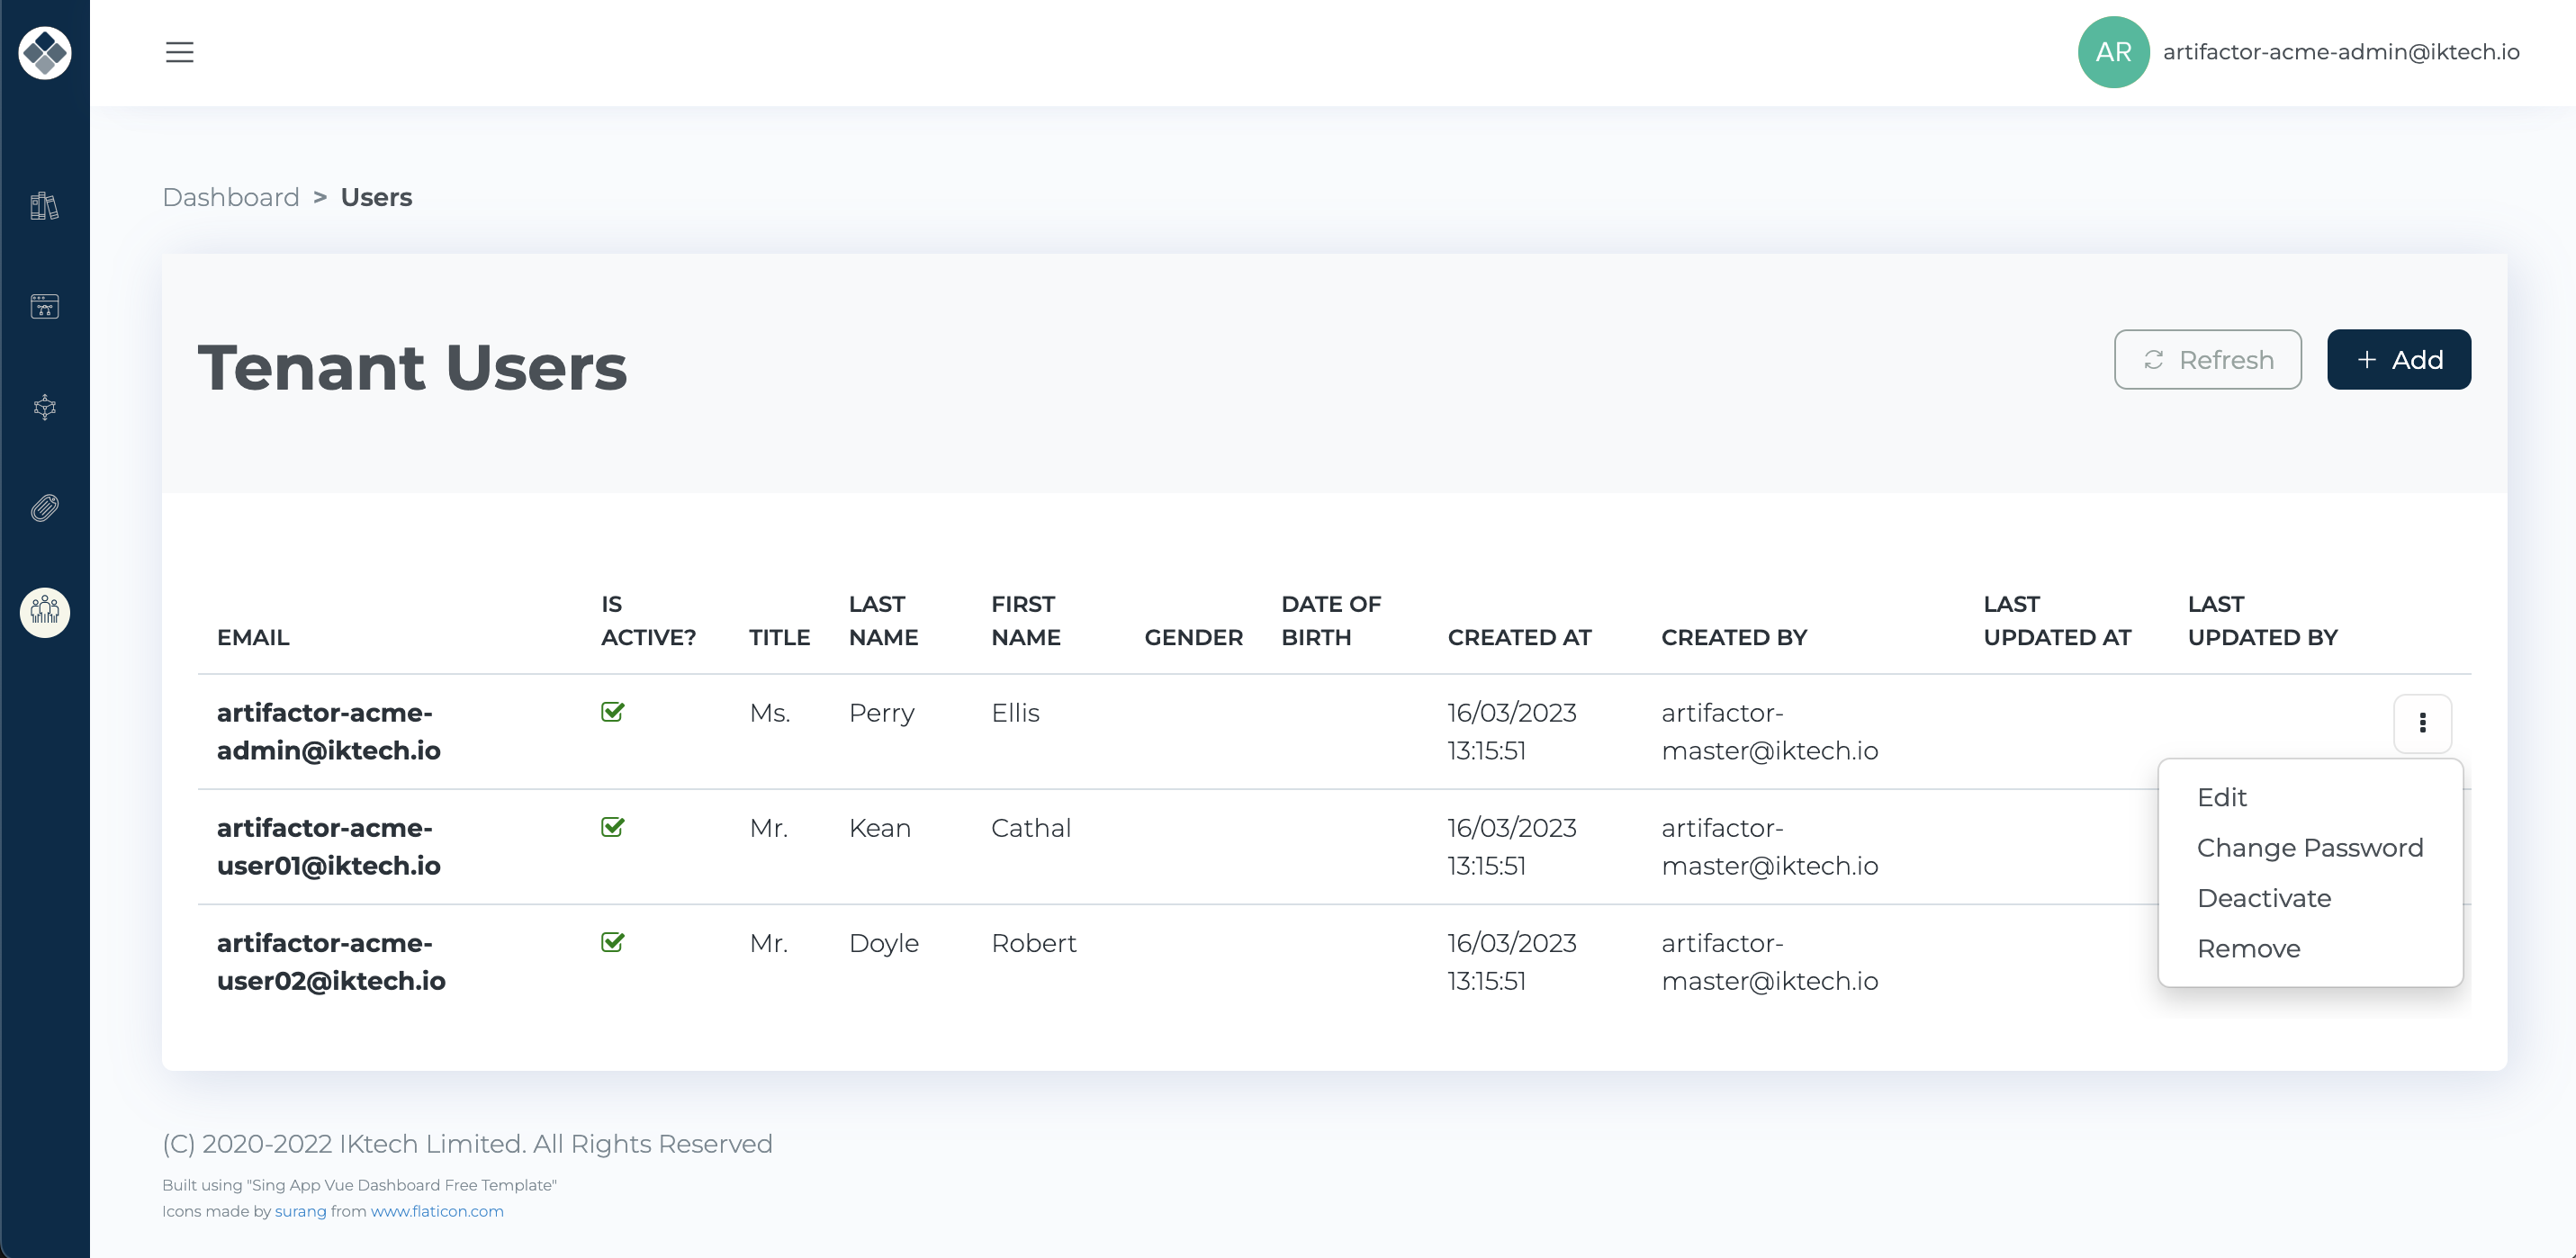
Through this menu, administrators can edit, change the password, activate/deactivate, or delete the users.
Upon selecting “Edit,” a dialog appears, allowing administrators to amend details:
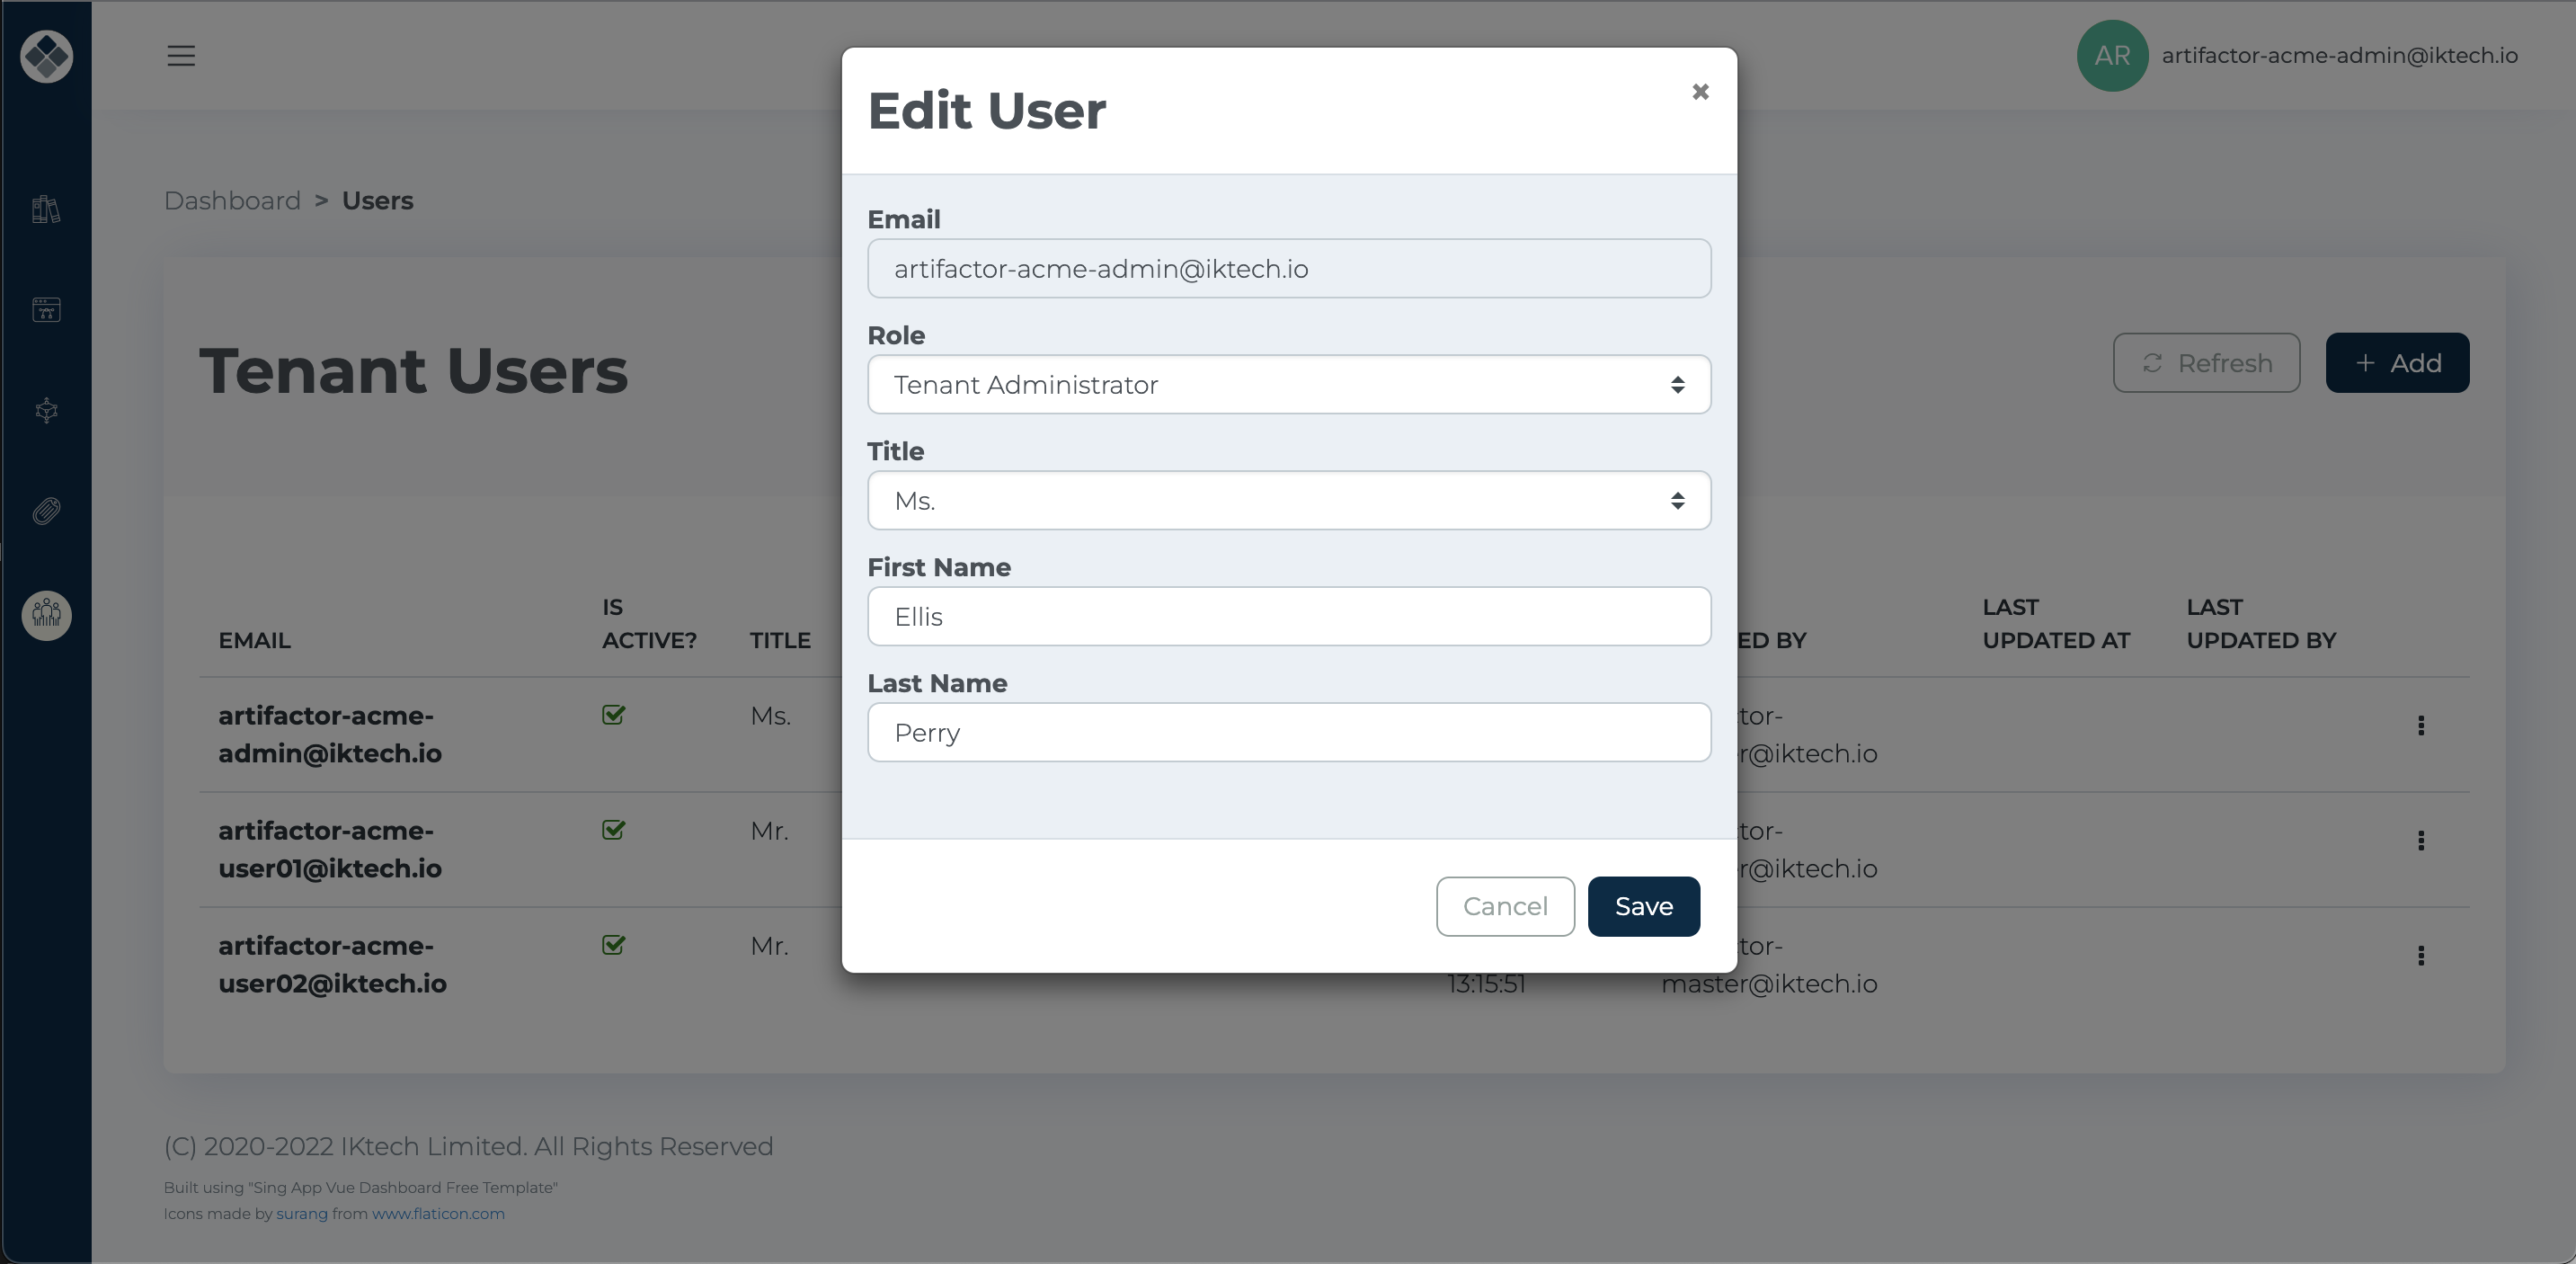
Here, Role, Title, First Name, and Last Name can be altered. Changes are saved by clicking “Save” or disregarded by selecting “Cancel”.
To adjust a user’s password, select the relevant option, and input the new password twice in the ensuing dialog box:

Click “Change Password” to implement or “Cancel” to withdraw.
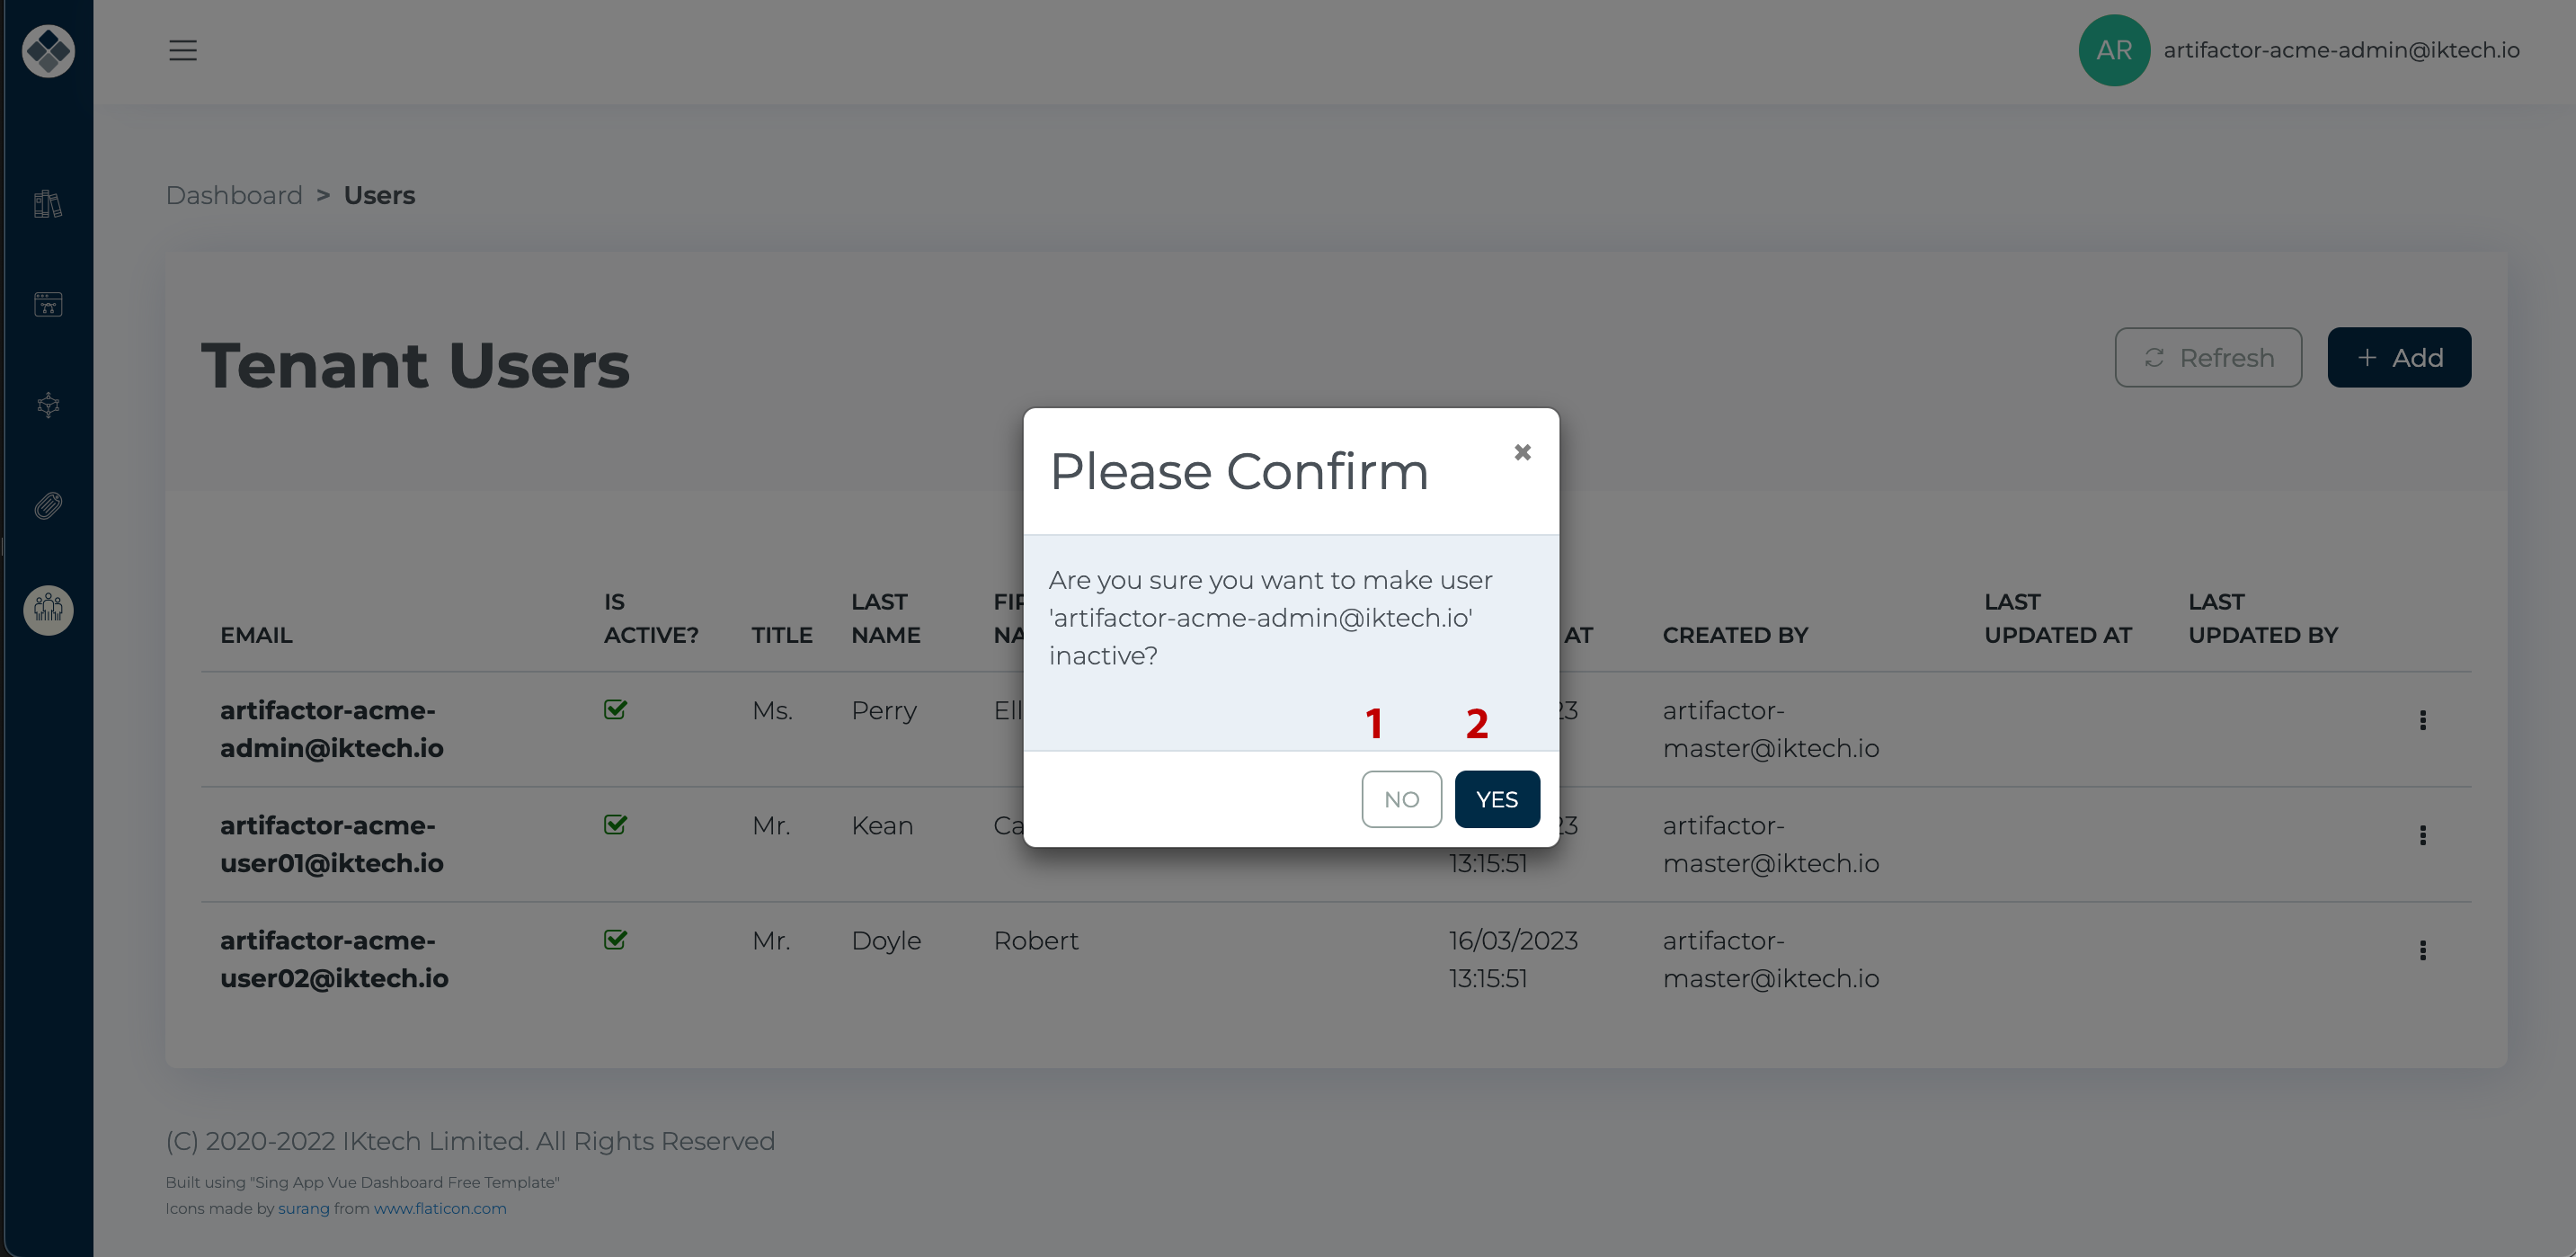
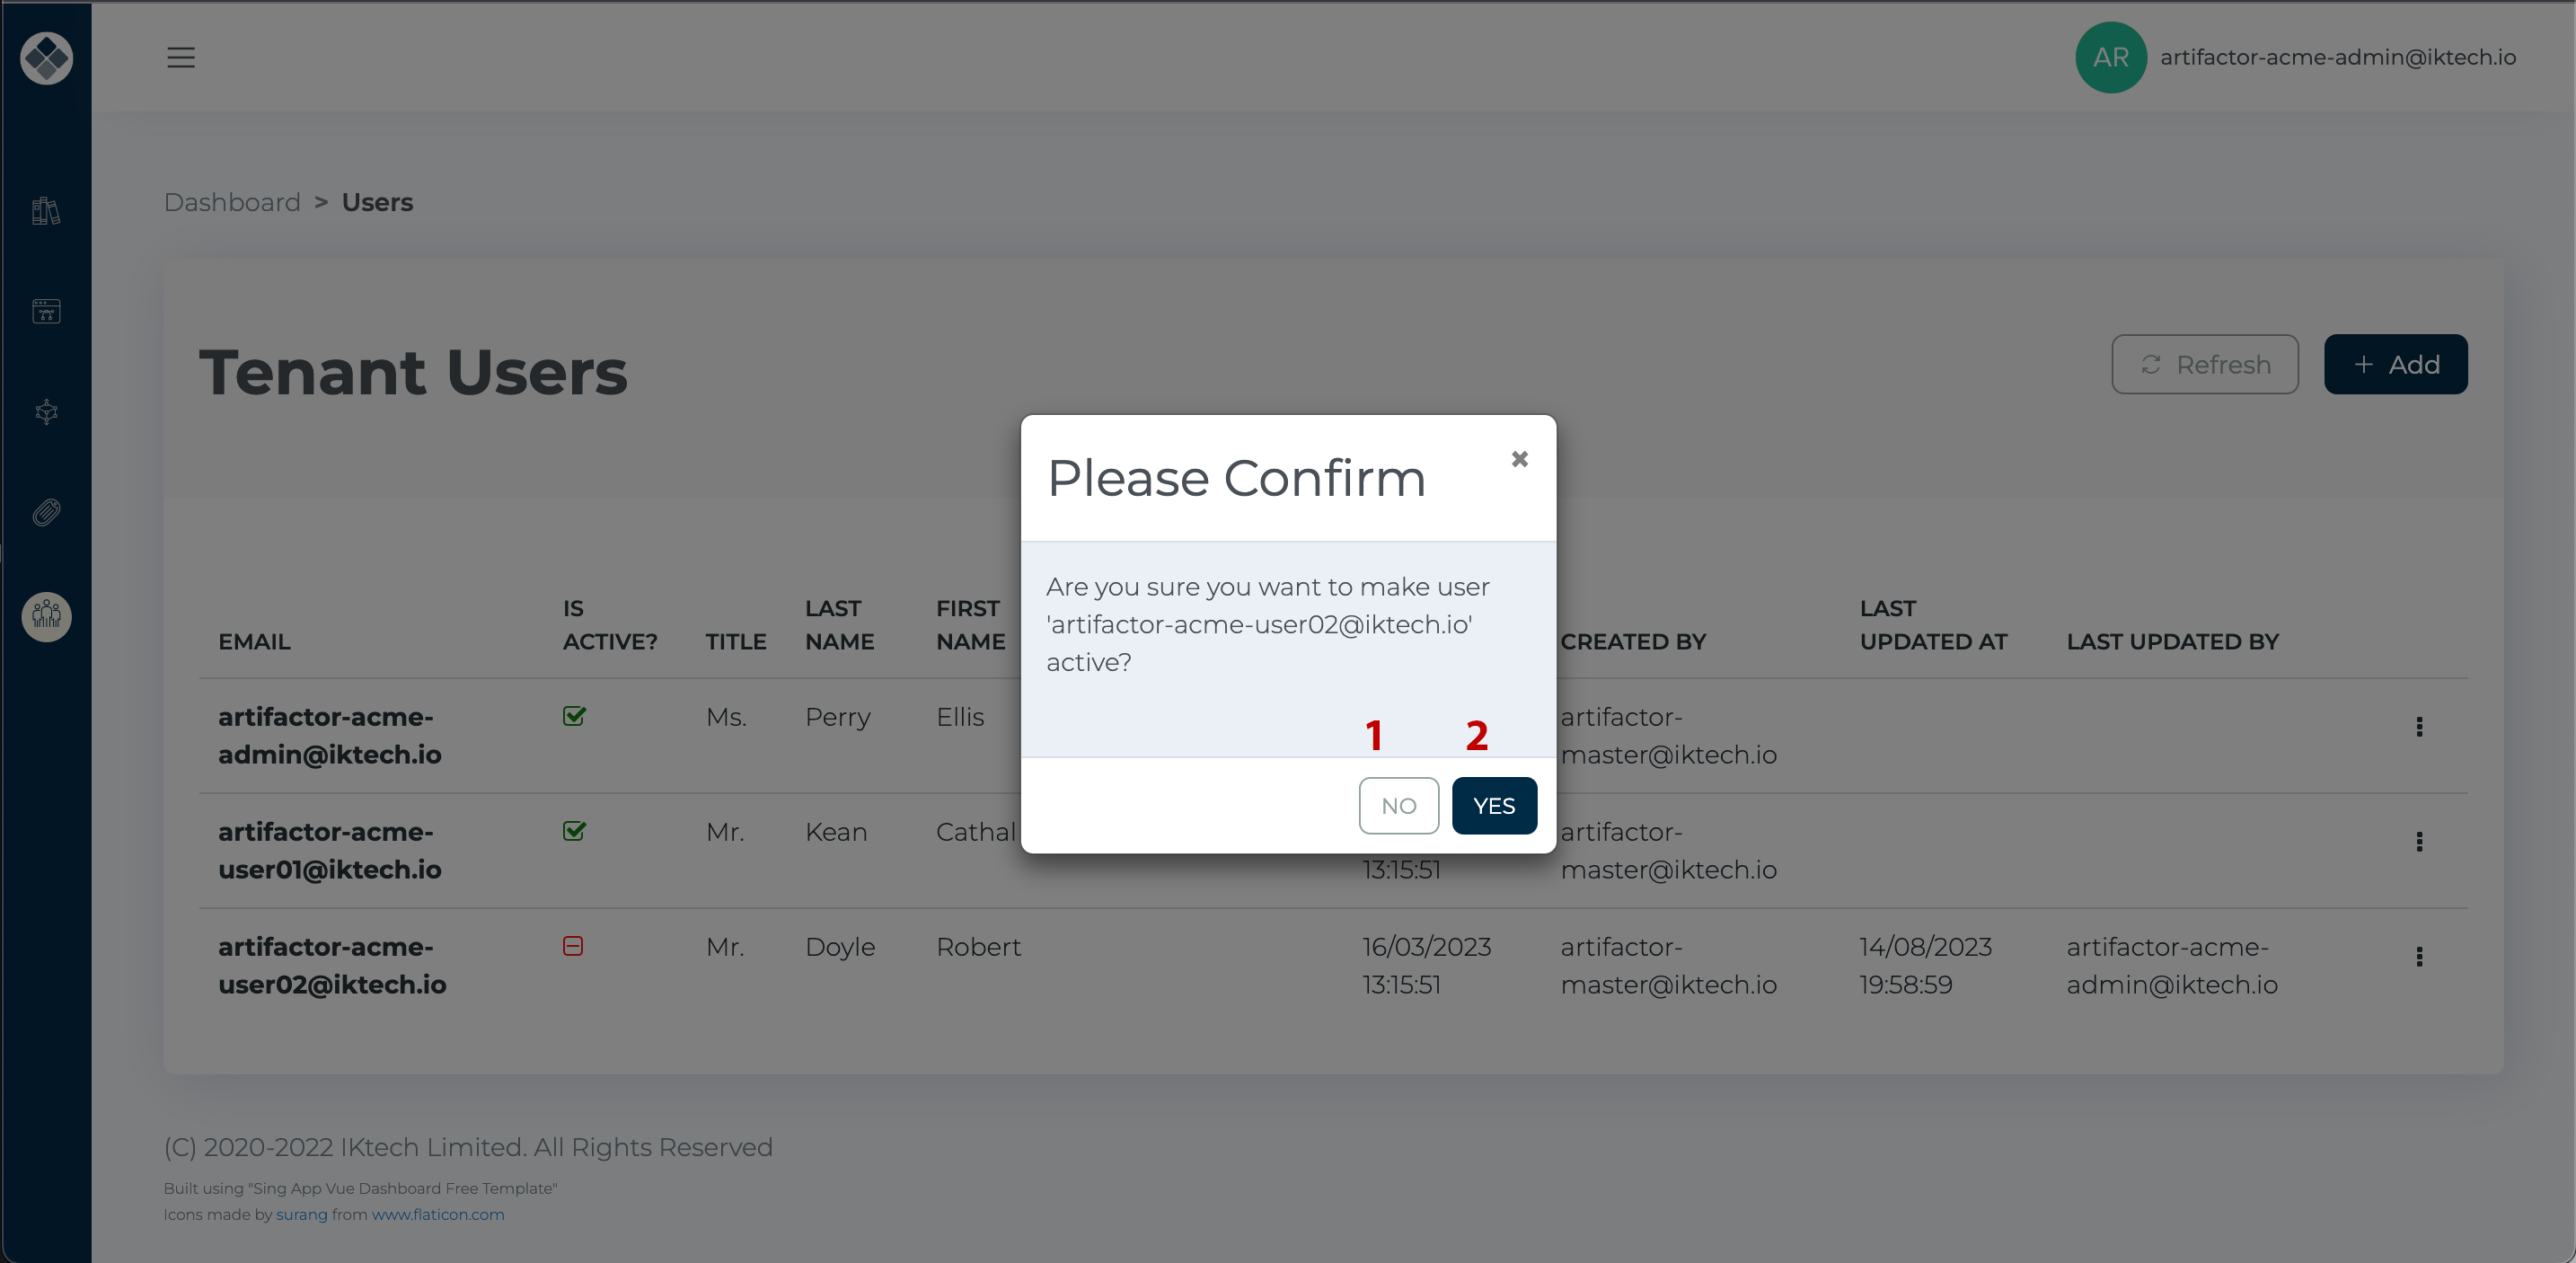
To deactivate a user, select the appropriate option, and confirm in the subsequent dialog:
To reactivate a user, select the applicable option and affirm the action:
Upon choosing “Delete,” a confirmation dialog will appear:
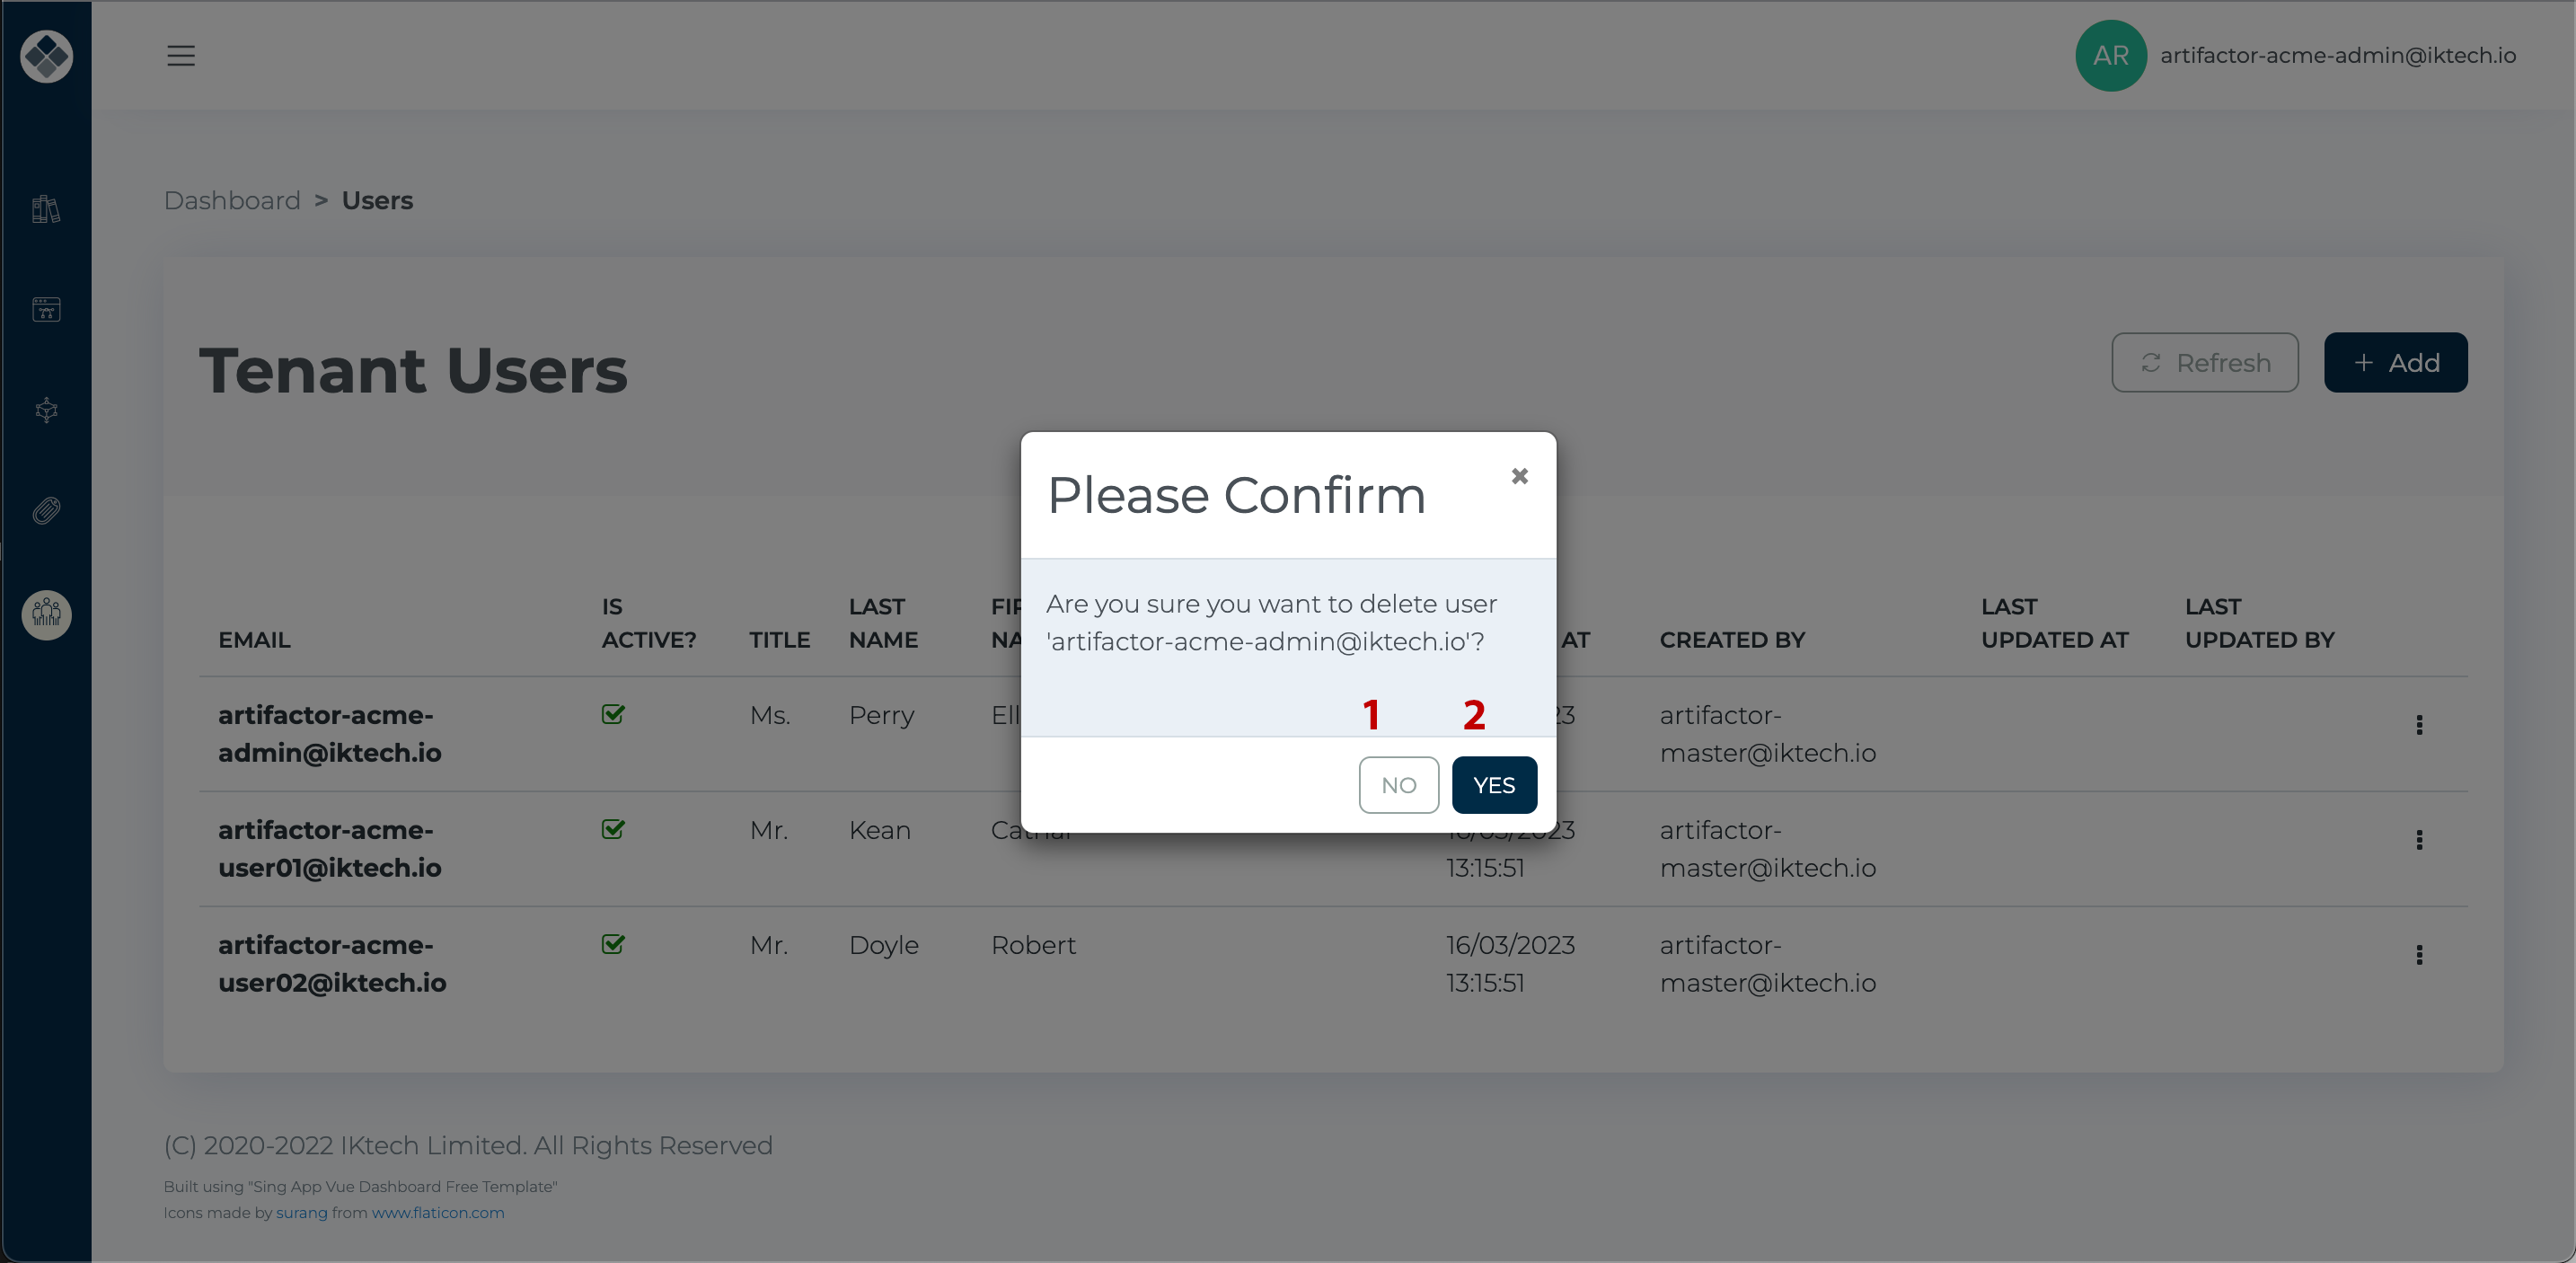
Confirm the user’s deletion by selecting “Yes”, or negate the action by clicking “No”.